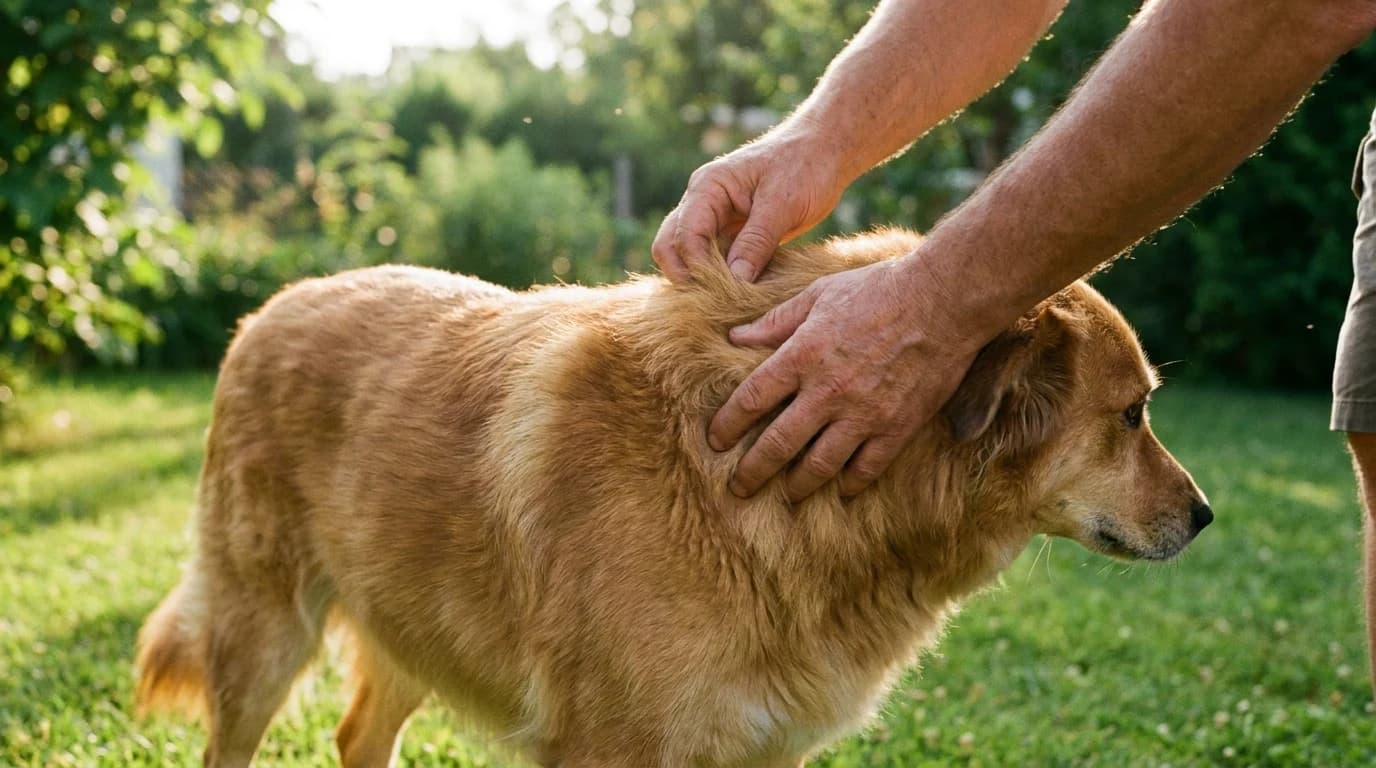
How to Safely Remove a Tick From a Dog (and What to Watch For)
Quick Answer
Use clean, fine-tipped tweezers. Grasp the tick as close to your dog's skin as you can — by the head, not the swollen body — and pull straight up with slow, steady, even pressure. Don't twist or jerk, which can snap the mouthparts off in the skin, and don't reach for a match, petroleum jelly, or nail polish: the CDC warns those can stress the tick into forcing infected fluid into the bite. Drop the tick in rubbing alcohol or seal it in tape (don't crush it in your fingers), then clean the bite and your hands. Speed matters more than a perfect technique, because for Lyme a tick generally has to stay attached more than 24 hours to transmit. Afterward, mark the date and keep watching for months — in dogs, Lyme signs like a shifting-leg lameness can take two to five months to show up.
On this page6 sections
Our Verdict
Grasp the tick with clean fine-tipped tweezers as close to the skin as possible and pull straight out with slow, steady pressure — no twisting, and none of the folk tricks (heat, petroleum jelly, nail polish) that the CDC warns can push infected fluid into the bite. Speed is the real prevention: an infected tick generally needs to stay attached more than a day to transmit Lyme. Then keep watching, because in dogs Lyme signs can take two to five months to appear, so a tick-free dog today isn't proof of an all-clear.
The tick-removal moves that backfire
These folk fixes are meant to make a tick let go on its own. The CDC warns several do the opposite — they stress the tick into pushing infected fluid into the bite. Skip all of them.
| Product | Why it backfires | Do this instead |
|---|---|---|
| Smother it in petroleum jelly / Vaseline | CDC names petroleum jelly as a substance that can agitate the tick and force infected fluid into the skin | Remove it mechanically with tweezers now — don't wait for it to detach on its own |
| Burn it off with a match or lighter | Heat is on the CDC's do-not-use list for the same reason, and you risk burning your dog's skin | Cool, steady tweezer pull — no flame anywhere near the coat |
| Paint it with nail polish | CDC lists nail polish alongside heat and petroleum jelly; sealing the tick stresses it instead of removing it | Grasp and pull — nail polish only keeps the tick attached longer |
| Soak it with dish soap on a cotton ball | Falls under the CDC's warning against using 'other substances' to make a tick detach, and it delays real removal while the tick keeps feeding | Every extra hour attached raises risk — tweeze it out immediately |
| Twist or unscrew it counterclockwise | CDC says don't twist or jerk — it snaps the mouthparts off and leaves them in the skin | Pull straight up and away, with no rotation |
| Pinch and pull the swollen body | Squeezing the engorged body works like pressing a syringe, injecting gut contents into the bite | Grip where the mouth meets the skin, as low as you can get |
How PawBench is paid: we earn an Amazon Associates commission on qualifying purchases. We don’t accept sponsored placements, paid reviews, or free products in exchange for coverage. Picks are ranked on documented owner outcomes and primary-source research, never on commission rate. Read the full methodology.
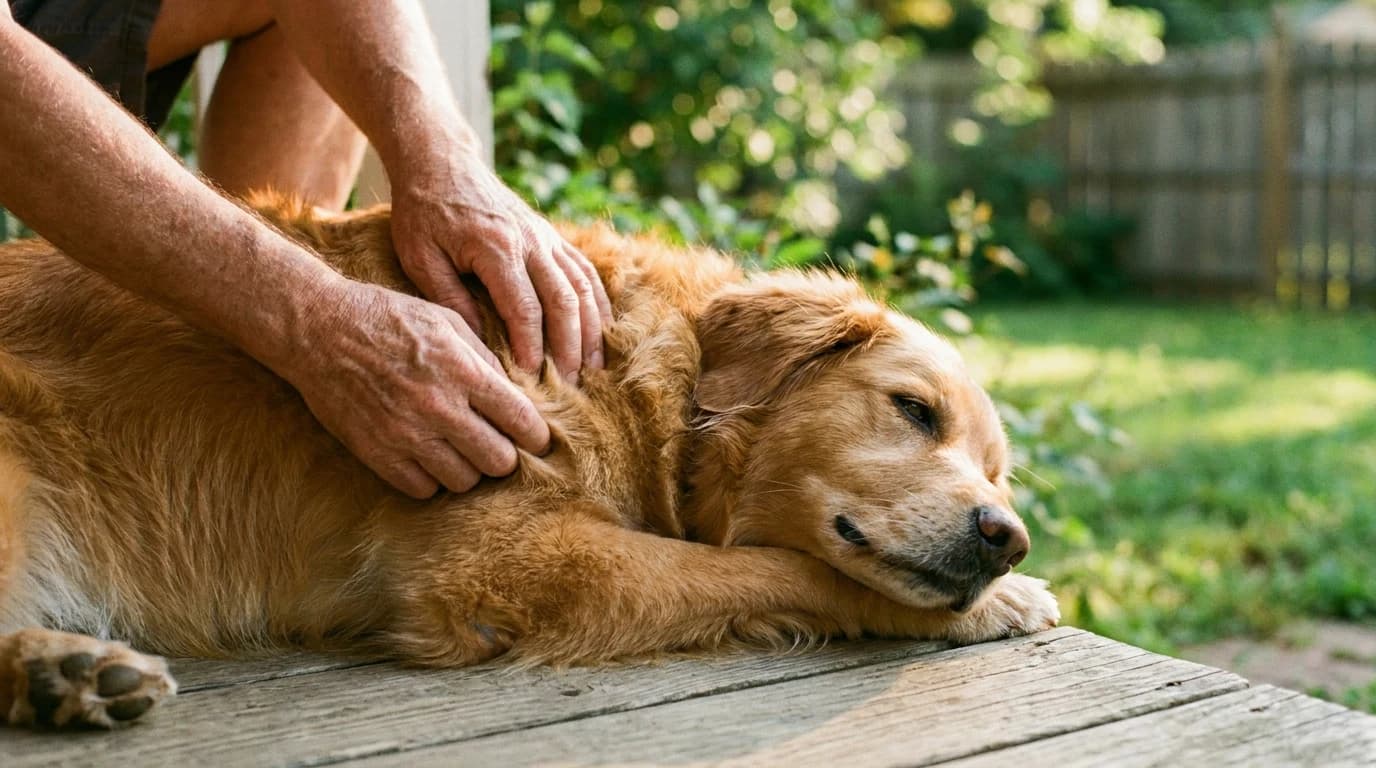
You part the fur behind your dog's ear and there it is: a swollen, grey-brown lump with legs, cemented to the skin. The first instinct is to grab it and yank — or to reach for a lit match, because that's what someone's uncle always swore by. Both instincts are wrong, and in the thick of summer tick season the wrong move can turn a harmless bite into an infection.
Here is the calm, evidence-based version — the same removal technique the CDC recommends, adapted for a wriggling dog.
The short version:
- Fine-tipped tweezers, straight pull, done. No twisting, no burning, no petroleum jelly.
- Speed beats finesse. For Lyme, a tick generally has to stay attached more than a day to transmit — prompt removal is the actual prevention.
- Folk remedies make it worse. The CDC specifically warns that heat, petroleum jelly, and nail polish can force infected fluid from the tick into the bite.
- The watch window is months, not days. In dogs, Lyme signs can take two to five months to appear, so a clean tick check today does not mean your dog is in the clear.
The 60-second removal
You need one thing: clean, fine-tipped tweezers — the pointy ones, not the wide angled cosmetic pair. Disposable gloves help if you have them.
Not the cosmetic pair: Wide angled tweezers grab the fat body instead of the head — the classic mistake, because it squeezes the tick like a syringe.
- Get down to the skin. Part the fur until you can see where the tick's mouth meets your dog. Have a second person hold and reassure the dog if you can.
- Grasp low. Grip the tick as close to the skin's surface as possible. Grabbing the fat body instead of the head is the classic mistake — it squeezes the tick like a syringe.
- Pull straight up, slow and steady. Even pressure, directly away from the skin. Don't twist, don't jerk. If the mouthparts snap off and stay behind, leave them — the skin works them out as it heals, and digging causes more trauma than the fragment.
- Dispose of it without crushing it in your fingers. Drop the live tick into rubbing alcohol, seal it in tape, or flush it. If you might want it identified later, tape it to an index card with the date.
- Clean up. Wash the bite site and your hands with soap and water or alcohol. Then check the rest of your dog.
Where there's one tick there are often more: Check the ears, armpits, groin, and between the toes before you call it done.
That's the entire procedure. It is deliberately boring, because boring is exactly what keeps the tick's gut contents out of your dog.
The folk remedies that backfire
Every one of these is popular, and every one raises the odds of the infection you're trying to avoid.
The mechanism is the same across the board: anything that stresses or smothers an attached tick can make it regurgitate into the bite before it lets go.
Why pulling fast beats pulling perfectly
Here's the reassuring part. Ticks are not instant. The bacterium behind Lyme disease, Borrelia burgdorferi, lives in the tick's gut and takes time to migrate to the mouthparts once feeding starts. The CDC's position is that an infected tick generally has to stay attached more than 24 hours to transmit Lyme; VCA notes the risk to a dog rises after roughly 12 to 24 hours of feeding.
That single fact reframes the panic. The goal isn't a flawless surgical extraction — it's removing the tick promptly, tonight, before that window closes.
Rule of thumb: A slightly messy removal done right away beats a perfect one done tomorrow.
It's also why "it was only on a few hours" is usually genuine reassurance for Lyme — though some other tick-borne infections move faster, so prompt removal lowers the odds rather than zeroing them.
What to watch for — and for how long
This is where owners get lulled. You remove the tick, your dog trots off happily, and the episode feels closed. It isn't.
In dogs, the signs of Lyme disease typically don't surface for two to five months after the bite, according to VCA — by which point most people have forgotten the tick entirely. The tell is a specific kind of lameness:
- A painful limp that appears suddenly and can shift from one leg to another — often described as a dog "walking on eggshells"
- A fever
- Swollen or warm joints
- A dog that goes off its food
So the honest watch plan is a long one. Mark the date on a calendar.
| When | What to watch |
|---|---|
| Over the next few weeks | The bite site, for spreading redness or swelling |
| Over the next few months | That eggshell lameness, new lethargy, or a lost appetite |
Mention the tick to your vet if any of it shows up, even if the bite feels like ancient history.
When to call the vet
- The tick's head broke off and the site is angry, swollen, or oozing days later.
- Your dog develops a fever, limps, turns stiff, or stops eating — at any point in the months after a bite.
- You couldn't get the tick out, or it was buried somewhere awkward.
- You live in a high-Lyme region and your dog isn't on a vet-recommended flea and tick preventive — a conversation worth having before the next bite, not after.
Lyme in dogs is treatable, usually with the antibiotic doxycycline, and the earlier it's caught the better. Prevention beats treatment by a mile: a good preventive stops most ticks from ever attaching, which is a far easier fight than tweezing them out one by one. If you're weighing the options, our breakdown of oral vs. topical vs. collar protection walks through the trade-offs, and there are natural approaches that help around the margins.
The bottom line
Removing a tick from a dog is genuinely simple: fine-tipped tweezers, a slow straight pull, no fire and no Vaseline. The part people get wrong isn't the removal — it's what surrounds it. They reach for a folk remedy that makes infection more likely, then relax the instant the tick is gone, when a dog's real watch window stretches months down the road. Pull it promptly, clean the bite, mark the calendar, and keep half an eye on those joints.
Frequently Asked Questions
- How long does a tick have to be attached to give my dog Lyme disease?
- For Lyme, prompt removal genuinely helps. The CDC states that an infected tick generally has to be attached more than 24 hours to transmit the Lyme bacterium, and VCA notes the risk to a dog rises after roughly 12 to 24 hours of feeding. That's why getting the tick off as soon as you find it — rather than waiting for a vet visit — is the single most effective thing you can do. Some other tick-borne infections can transmit faster, so prompt removal lowers the odds rather than eliminating them.
- Should I save the tick after I remove it?
- You can, and it's low-effort insurance. Instead of flushing it, drop the tick in a sealed bag or tape it to an index card with the date and where you found it. If your dog later shows symptoms, being able to tell your vet what kind of tick it was and roughly how long it may have been attached can help guide testing. Just don't crush it in your fingers, and wash your hands afterward.
- My dog seems totally fine after the tick — is she in the clear?
- Not necessarily, and this is the part owners most often get wrong. In dogs, the clinical signs of Lyme disease usually don't appear for two to five months after infection, per VCA — long after the bite is forgotten. Mark the date on a calendar and, over the following months, watch for a sudden shifting-leg lameness (a dog 'walking on eggshells'), fever, swollen joints, lethargy, or loss of appetite. Mention the tick to your vet if any of that shows up.
- Do I need to call the vet for every tick bite?
- Usually not for the removal itself — a clean tweezer pull at home is standard. Call your vet if the tick's head broke off and the site becomes swollen or infected, if you couldn't remove the tick, or if your dog develops a fever, limps, stiffens, or stops eating at any point in the months after a bite. Lyme in dogs is treatable, commonly with the antibiotic doxycycline, and catching it early matters. If your dog isn't already on a vet-recommended flea and tick preventive, that's the more important conversation.
Research Sources
- What to Do After a Tick Bite — Centers for Disease Control and Prevention (CDC)
- How Lyme Disease Spreads — Centers for Disease Control and Prevention (CDC)
- Lyme Disease in Dogs — VCA Animal Hospitals

PawBench Editorial
Published by Hilly Shore LabsPawBench’s editorial team researches dog products from primary veterinary sources, manufacturer specifications and aggregated buyer sentiment, alongside the lived ownership of Maggie, an Australian Labradoodle. We do not run hands-on product tests.
254 dog products scored · 1,160,091 buyer review-aspect mentions aggregated · cites AVMA, FDA, AAFCO, Cornell, WSAVA, AKC, ASPCA.
Recommendations are based on published veterinary guidelines, manufacturer specifications, and verified customer feedback. See our editorial standards.