How to Trim Your Dog's Nails at Home: A Step-by-Step Guide
Quick Answer
Trim every 2-4 weeks, cutting small bits at a 45-degree angle to avoid the quick. Keep styptic powder nearby in case of bleeding. For anxious dogs, desensitize with handling and high-value treats over 1-2 weeks before attempting.
Our Verdict
Trim every 2–4 weeks using small cuts at a 45-degree angle. Keep styptic powder nearby. If your dog is fearful, spend 2–4 weeks desensitizing before attempting a full trim.
Key Takeaways
Trim every 2–4 weeks using small cuts at a 45-degree angle. Keep styptic powder nearby. If your dog is fearful, spend 2–4 weeks desensitizing before attempting a full trim.

How PawBench is paid: we earn an Amazon Associates commission on qualifying purchases. We don’t accept sponsored placements, paid reviews, or free products in exchange for coverage. Picks are ranked on documented owner outcomes and primary-source research, never on commission rate. Read the full methodology.
Overgrown nails are one of the most common — and most overlooked — health issues in dogs. When nails are too long, they alter your dog's gait, cause pain with every step, and over time contribute to joint problems, arthritis, and even spinal issues. The American Kennel Club recommends trimming nails every 2–4 weeks, yet most dog owners go months between trims.
The good news: trimming at home is safe, saves money, and gets easier with practice. Here's exactly how to do it.
Why Nail Length Matters
When a dog stands on a flat surface, their nails should not touch the ground. If you can hear clicking on hardwood floors, the nails are too long.
Long nails push back into the nail bed with every step, causing pressure on the toe joints. Over time, this alters the alignment of the entire foot, changes how the dog distributes weight, and stresses the joints up through the legs and spine. In severe cases, nails curl into the paw pad, causing infection and significant pain.
Dogs with properly maintained nails move more comfortably, have better traction, and are less prone to nail tears and breaks — which can be bloody, painful, and expensive to treat.
Tools You'll Need
Option 1: Nail Clippers
- Guillotine-style clippers work well for small to medium dogs with thinner nails
- Scissor/plier-style clippers are better for large dogs with thick nails
- Keep styptic powder on hand (Kwik Stop is the standard) — it stops bleeding instantly if you cut the quick
Option 2: Nail Grinder (Dremel)
- A rotary grinder sands the nail down gradually instead of cutting. Many dogs and owners prefer this because it's easier to avoid the quick and creates a smoother finish.
- Use a pet-specific grinder or a Dremel with a fine-grit sanding band
- The Dremel 7300-PT and Casfuy Pet Nail Grinder are popular, well-reviewed options
Which is better? Neither is inherently superior. Clippers are faster. Grinders are more forgiving. Many experienced owners use clippers for the bulk of the nail and a grinder to smooth the edges.
Understanding the Quick
The quick is the blood vessel and nerve that runs through the center of the nail. Cutting into it causes pain and bleeding — this is the #1 reason owners and dogs dread nail trims.
Light-colored nails: You can see the quick as a pink area inside the translucent nail. Cut 2mm before where the pink starts.
Dark-colored nails: You can't see the quick. Instead, trim small amounts at a time and watch the cross-section of the nail. When you start seeing a dark dot in the center of the freshly cut surface (the beginning of the quick), stop.
If nails are severely overgrown: The quick grows longer when nails are neglected. You can gradually recede the quick by trimming a small amount every 5–7 days. Over 4–6 weeks, the quick retreats and you can achieve a normal nail length.
Step-by-Step: Trimming with Clippers
1. Position your dog comfortably. Small dogs can sit on your lap or a raised surface. Large dogs can stand or lie on their side. Having a second person help hold the dog is useful, especially in the beginning.
2. Hold the paw firmly but gently. Separate the toes and hold the individual nail you're working on. Press the pad slightly to extend the nail.
3. Identify your cutting line. For light nails, cut 2mm before the quick. For dark nails, start by removing just the curved tip.
4. Cut at a 45-degree angle. Angle the cut so it follows the natural curve of the nail, trimming from underneath. Avoid cutting straight across — this leaves sharp edges.
5. Trim in small increments. Take off thin slices rather than trying to cut the nail to the perfect length in one clip. This is especially important with dark nails.
6. Don't forget the dewclaws. Many dogs have a fifth nail higher up on the inside of the front legs. These don't wear down naturally and can grow into the skin if neglected.
7. Smooth with a file or grinder. Optional, but a quick pass with a grinder or nail file removes sharp edges that catch on carpet and fabric.
Step-by-Step: Trimming with a Grinder
1. Introduce the grinder gradually. Before using it on nails, let your dog hear and feel the vibration. Turn it on near them, touch it to a paw (turned on but not grinding), and reward with treats.
2. Hold the paw and isolate the nail. Push fur away from the nail — grinders can catch and wrap loose hair painfully. Some owners use a thin sock over the paw with the nails poking through.
3. Touch the grinder to the tip of the nail. Use the fine-grit setting. Apply gentle pressure for 3–5 seconds at a time, then check your progress. Don't hold the grinder on one spot too long — friction generates heat.
4. Work from the tip, rounding the edges. Grind the tip first, then angle to smooth the sides and edges. Stop when you see the chalky white layer start to give way to darker tissue (the approaching quick).
If You Hit the Quick
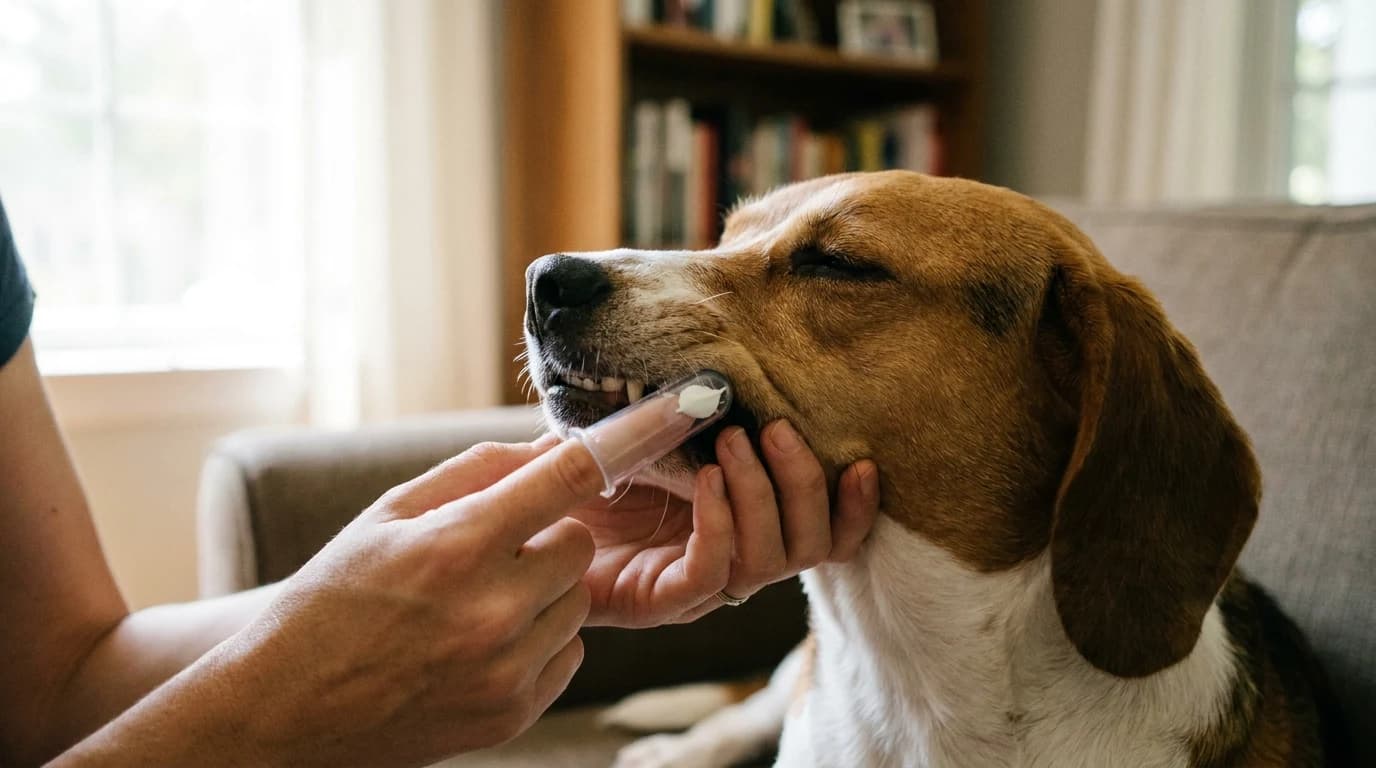
Don't panic. Apply styptic powder (Kwik Stop) directly to the bleeding nail with firm pressure for 30 seconds. If you don't have styptic powder, cornstarch or flour packed onto the nail tip works in an emergency. Bleeding typically stops within 5–10 minutes.
Give your dog a treat, take a break, and forgive yourself — even professional groomers nick the quick occasionally.
Desensitizing a Fearful Dog
If your dog panics at the sight of nail clippers, you need to desensitize before you can trim. This takes patience — usually 2–4 weeks of daily sessions.
Week 1: Touch paws and toes during calm moments. Reward with treats. Don't bring out the clippers.
Week 2: Let your dog see and sniff the clippers. Touch the clippers to their paws without cutting. Reward heavily.
Week 3: Clip one nail per session. Just one. Give a high-value treat (cheese, chicken) immediately after. Stop.
Week 4: Gradually increase to 2–3 nails per session. Always stop before your dog gets stressed. Over time, most dogs learn to tolerate nail trims — some even fall asleep during the process.
For extreme cases: Ask your vet about anti-anxiety medication for nail trims, or have the vet or a groomer handle trims while you work on desensitization at home.
How Often to Trim
Every 2–4 weeks for most dogs. Dogs who walk on concrete daily may need less frequent trimming, as pavement naturally files their nails. Dogs who primarily walk on grass or soft surfaces need more frequent trims.
Check nails weekly — if they're touching the ground when your dog stands, it's time.
Nail Trimming Mistakes to Avoid
- Cutting too much at once — take small amounts
- Using dull clippers — replace blades or sharpen regularly; dull clippers crush rather than cut
- Skipping the dewclaws — they grow into the skin if neglected
- Trimming when anxious — your dog reads your energy; if you're nervous, they will be too
- Not having styptic powder ready — always have it within arm's reach before starting
- Waiting too long between trims — the quick extends, making future trims harder
Sources
- American Kennel Club (AKC) — "How to Trim Your Dog's Nails Safely." akc.org.
- American Veterinary Medical Association (AVMA) — Nail care and paw health guidelines. avma.org.
- American Animal Hospital Association (AAHA) — Dog grooming best practices. aaha.org.
- Washington State University College of Veterinary Medicine — Nail anatomy and quick recession. vetmed.wsu.edu.
Research Sources
- How to Trim Your Dog's Nails Safely — American Kennel Club
- Good Grooming - Improving Your Dog's Nail-Care Routine — American Kennel Club, 2024
- Next Level Nail Trims: Cooperative Care Behaviors — Fear Free
- ASPCA Animal Poison Control — ASPCA
- AVSAB Position Statement on Humane Dog Training (2021) — American Veterinary Society of Animal Behavior, 2021

Hilly Shore Labs
Editorial teamIndependent product research team behind PawBench. Reviews are grounded in primary veterinary sources, aggregated buyer sentiment, and the lived ownership of Maggie, an Australian Labradoodle.
150+ dog products researched · 800,000+ owner mentions analyzed · cites AVMA, FDA, AAFCO, Cornell, WSAVA, AKC, ASPCA.
All product reviews are independently researched. Recommendations are based on published veterinary guidelines, manufacturer specifications, and verified customer feedback. See our editorial standards.